Labscope getting started videos
Discover tips & tricks with Lester-
-


Configure your language, file formats, file name templates and activate additional global settings modules.
-

Configure your microscope and add all your objectives to your settings.
-

Snap your image by adapting settings such as time, gain and intensity. Select auto or manual mode to do so.
-

Use the pointer to mark parts of your images and share it with others.
-

Use smart transparency with the drawing tool to enrich your findings.
-
Go to Global Settings > General > Select your language and the file format for your images. Set your tools and define default settings for annotations and measurements.Global Settings
-
Open microscope settings > Choose the objective based on your microscope configuration > Repeat for every objective and apply your settings.Configure your Microscope
-
Open Live Image > Go to acquisition settings, adapt the settings (auto or manual) like time, gain and intensity and snap your image.Acquisition settings
-
Global Settings > Available Tools > Enable pointer in available tools. Then, go to live image > Open the menu > Enable pointer.Activate your pointer
-
Global Settings > Available Tools > Enable drawing in available tools. Then, go to live image > Open the menu > Enable drawing function and start drawing your image.Activate Drawing
-
-
-

Sharing files is easy.
You can sort, select and, see the file informations before sharing them. -

Record a video in a few easy steps, you can choose your regions of interest by moving the stage.
-

Your smartphone is capable of running your Labscope and access all features and controls.
-

Configure your templates in a few clicks.
So, when snapping an image, the file name is automatically set according to your template. -

Compare images with the split screen function is easy, follow the steps and get started in a few clicks.
-
Go to files > Choose between list or image overview > Sort, select and see your files information > Share selected filesShare files
-
Go to live image and select mode > Select video & record it > Choose your regions of interest by moving the stageRecord a video
-
You can run Labscope on your tablet, Windows PC or smartphone.Use your smartphone
-
Go to Global Settings > File name template configurations > Press plus to add new template > Configure file name > SaveConfigure template
-
Compare two images with the split screen functionSplit screens
-
-
-

Add a microscope manually to your labscope.
-

Edit the histogram by adjusting the color range to auto or manual, gamma level and advanced options such as black and whites.
-

Create reports using your templates.
Edit styles, chose file formats and it will do the work for you automatically in a few clicks. -
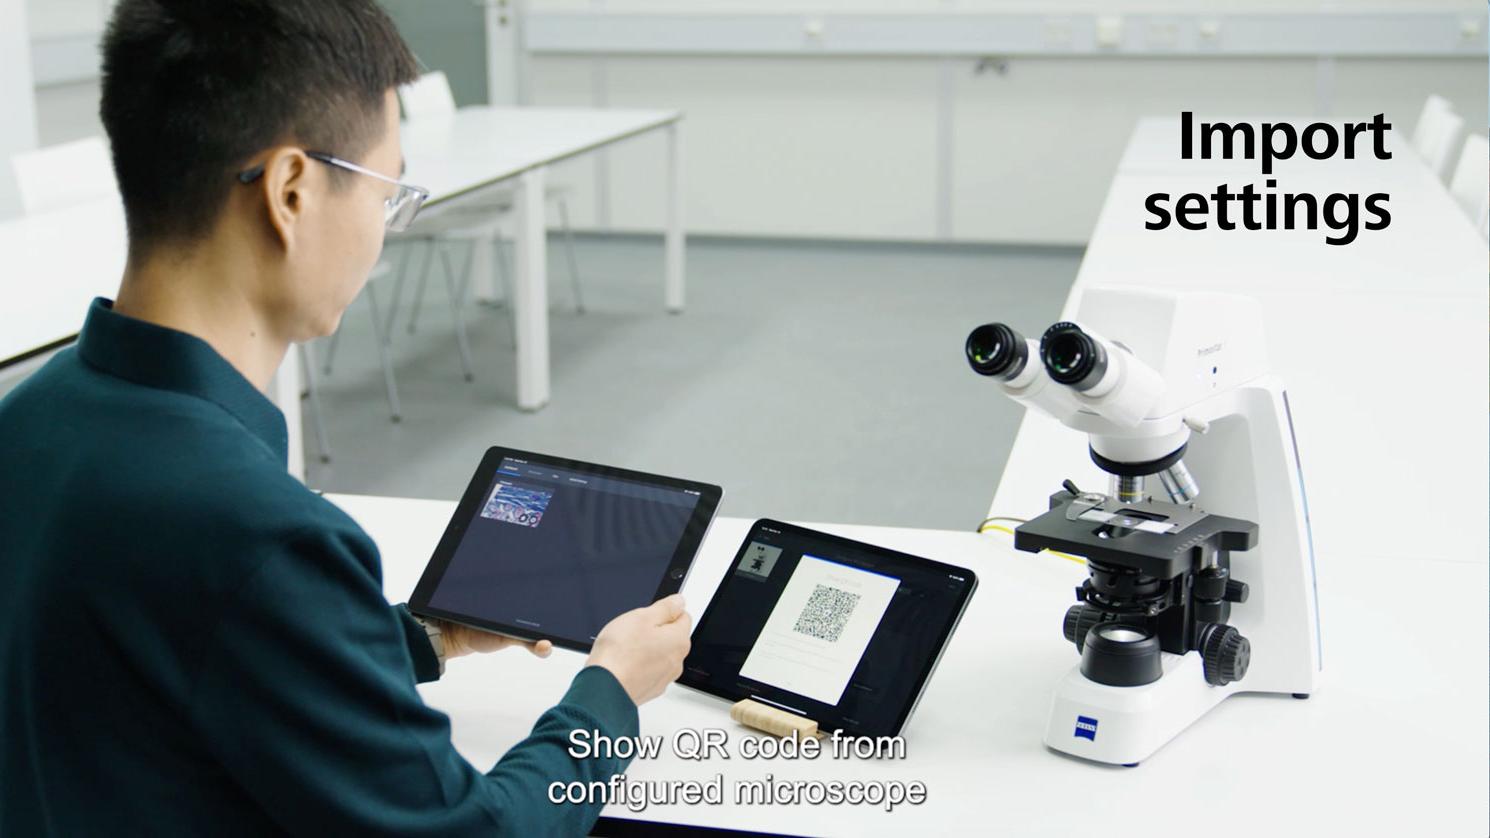
Copy microscope configurations by using a QR code and scanning it with your Labscope. All microscope settings are automatically imported.
-

Insert a scale bar, so that your measurements will be shown in the correct scaling. You can adapt the size, color and position.
-
Manually add a new microscope to your labscope software in a few clicks.Add a microscope
-
Go to microscope > Select Histogram > Set image parametersEdit the histogram
-
Go to files > Select files > Go to reports > Select report template > Edit style > Select file format > Your report is created automatically.Create a report
-
Copy microscope configurations by importing your settings.Import settings
-
Open active objective > Open menu and choose scale bar > Click on scale bar to change color, size and position.Scale bar
-


